
What is OpenCode? Complete Installation and Getting Started Guide

What is OpenCode?
OpenCode is an AI-powered coding assistant built for the terminal. Unlike proprietary tools, OpenCode is fully open source (MIT license) and works with over 75 AI model providers, including Claude (Anthropic), OpenAI, Google Gemini, AWS Bedrock, and even local models via Ollama.
Written in Go with Bubble Tea for its terminal UI (TUI), OpenCode has earned over 138,000 GitHub stars and boasts an active community of 800+ contributors. It's the most popular open-source alternative to tools like Claude Code, Cursor, and GitHub Copilot CLI.
Source: OpenCode — GitHub Repository
Why Choose OpenCode Over Other Tools?
The AI coding assistant ecosystem has grown rapidly, but OpenCode stands out for several reasons:
- No vendor lock-in: Works with any LLM provider — you're not trapped in a closed ecosystem
- Truly open source: MIT license, you can audit, modify, and contribute to the code
- Terminal-first: An elegant TUI that doesn't require a browser or specific IDE
- Extensible: Native support for MCP (Model Context Protocol), LSP, and custom skills
- Smart agents: Two built-in agents (
buildandplan) plus the ability to create your own - Privacy: Your data stays on your machine — the code is auditable
| Feature | OpenCode | Claude Code | GitHub Copilot CLI |
|---|---|---|---|
| Open source | ✅ MIT | ❌ | ❌ |
| Multi-provider | ✅ 75+ | ❌ Claude only | ❌ GPT only |
| Local models | ✅ Ollama | ❌ | ❌ |
| Native TUI | ✅ | ✅ | ❌ |
| Skills/plugins | ✅ | ✅ | ❌ |
| MCP servers | ✅ | ✅ | ❌ |
Prerequisites
Before installing OpenCode, make sure you have:
- Operating system: macOS, Linux, or Windows (with WSL or native)
- Terminal: Any modern terminal emulator (iTerm2, Windows Terminal, Alacritty, Kitty, etc.)
- API Key: From at least one provider — Anthropic, OpenAI, Google, or set up Ollama for local models
- Git: Installed and configured (OpenCode works directly with repositories)
Step-by-Step Installation
OpenCode offers multiple installation methods. Here are the main ones:
Method 1: Quick Install Script (Recommended)
The simplest method works on macOS and Linux:
1# One-line installation
2curl -fsSL https://opencode.ai/install | bash
This script detects your OS and architecture, downloads the correct binary, and places it in your PATH.
Method 2: npm (Cross-platform)
1# Install globally with npm
2npm i -g opencode-ai@latest
3
4# Verify the installation
5opencode --version
Method 3: Homebrew (macOS)
1# Add the tap and install
2brew install anomalyco/tap/opencode
Method 4: From Source
1# Clone the repository
2git clone https://github.com/anomalyco/opencode.git
3cd opencode
4
5# Build (requires Go 1.22+)
6go build -o opencode ./cmd/opencode
7
8# Move to PATH
9sudo mv opencode /usr/local/bin/
Custom Installation Directory
You can control where OpenCode is installed using environment variables:
1# Option 1: OpenCode-specific variable
2export OPENCODE_INSTALL_DIR=$HOME/.local/bin
3
4# Option 2: Standard XDG directory
5export XDG_BIN_DIR=$HOME/.local/bin
6
7# Then run the installer
8curl -fsSL https://opencode.ai/install | bash
Initial Configuration
Once installed, you need to authenticate with at least one AI provider:
1# Log in (opens an authentication flow)
2opencode auth login
3
4# Or set the API key directly as an environment variable
5export ANTHROPIC_API_KEY="sk-ant-..."
6export OPENAI_API_KEY="sk-..."
Credentials are stored securely in ~/.local/share/opencode/auth.json.
![]()
Source: OpenCode — GitHub Repository
Selecting the Default Model
Create a configuration file at your project root:
1{
2  "model": "anthropic/claude-sonnet-4-5",
3  "small_model": "anthropic/claude-haiku-4-5",
4  "permission": {
5    "ask": "allow"
6  }
7}
Save it as opencode.json in your project. OpenCode merges configurations in this priority order:
- Project configuration (
opencode.json) OPENCODE_CONFIGenvironment variable- Global configuration (
~/.config/opencode/opencode.json) - Remote organizational configuration
Getting Started: Your First Session
Navigate to any repository and run:
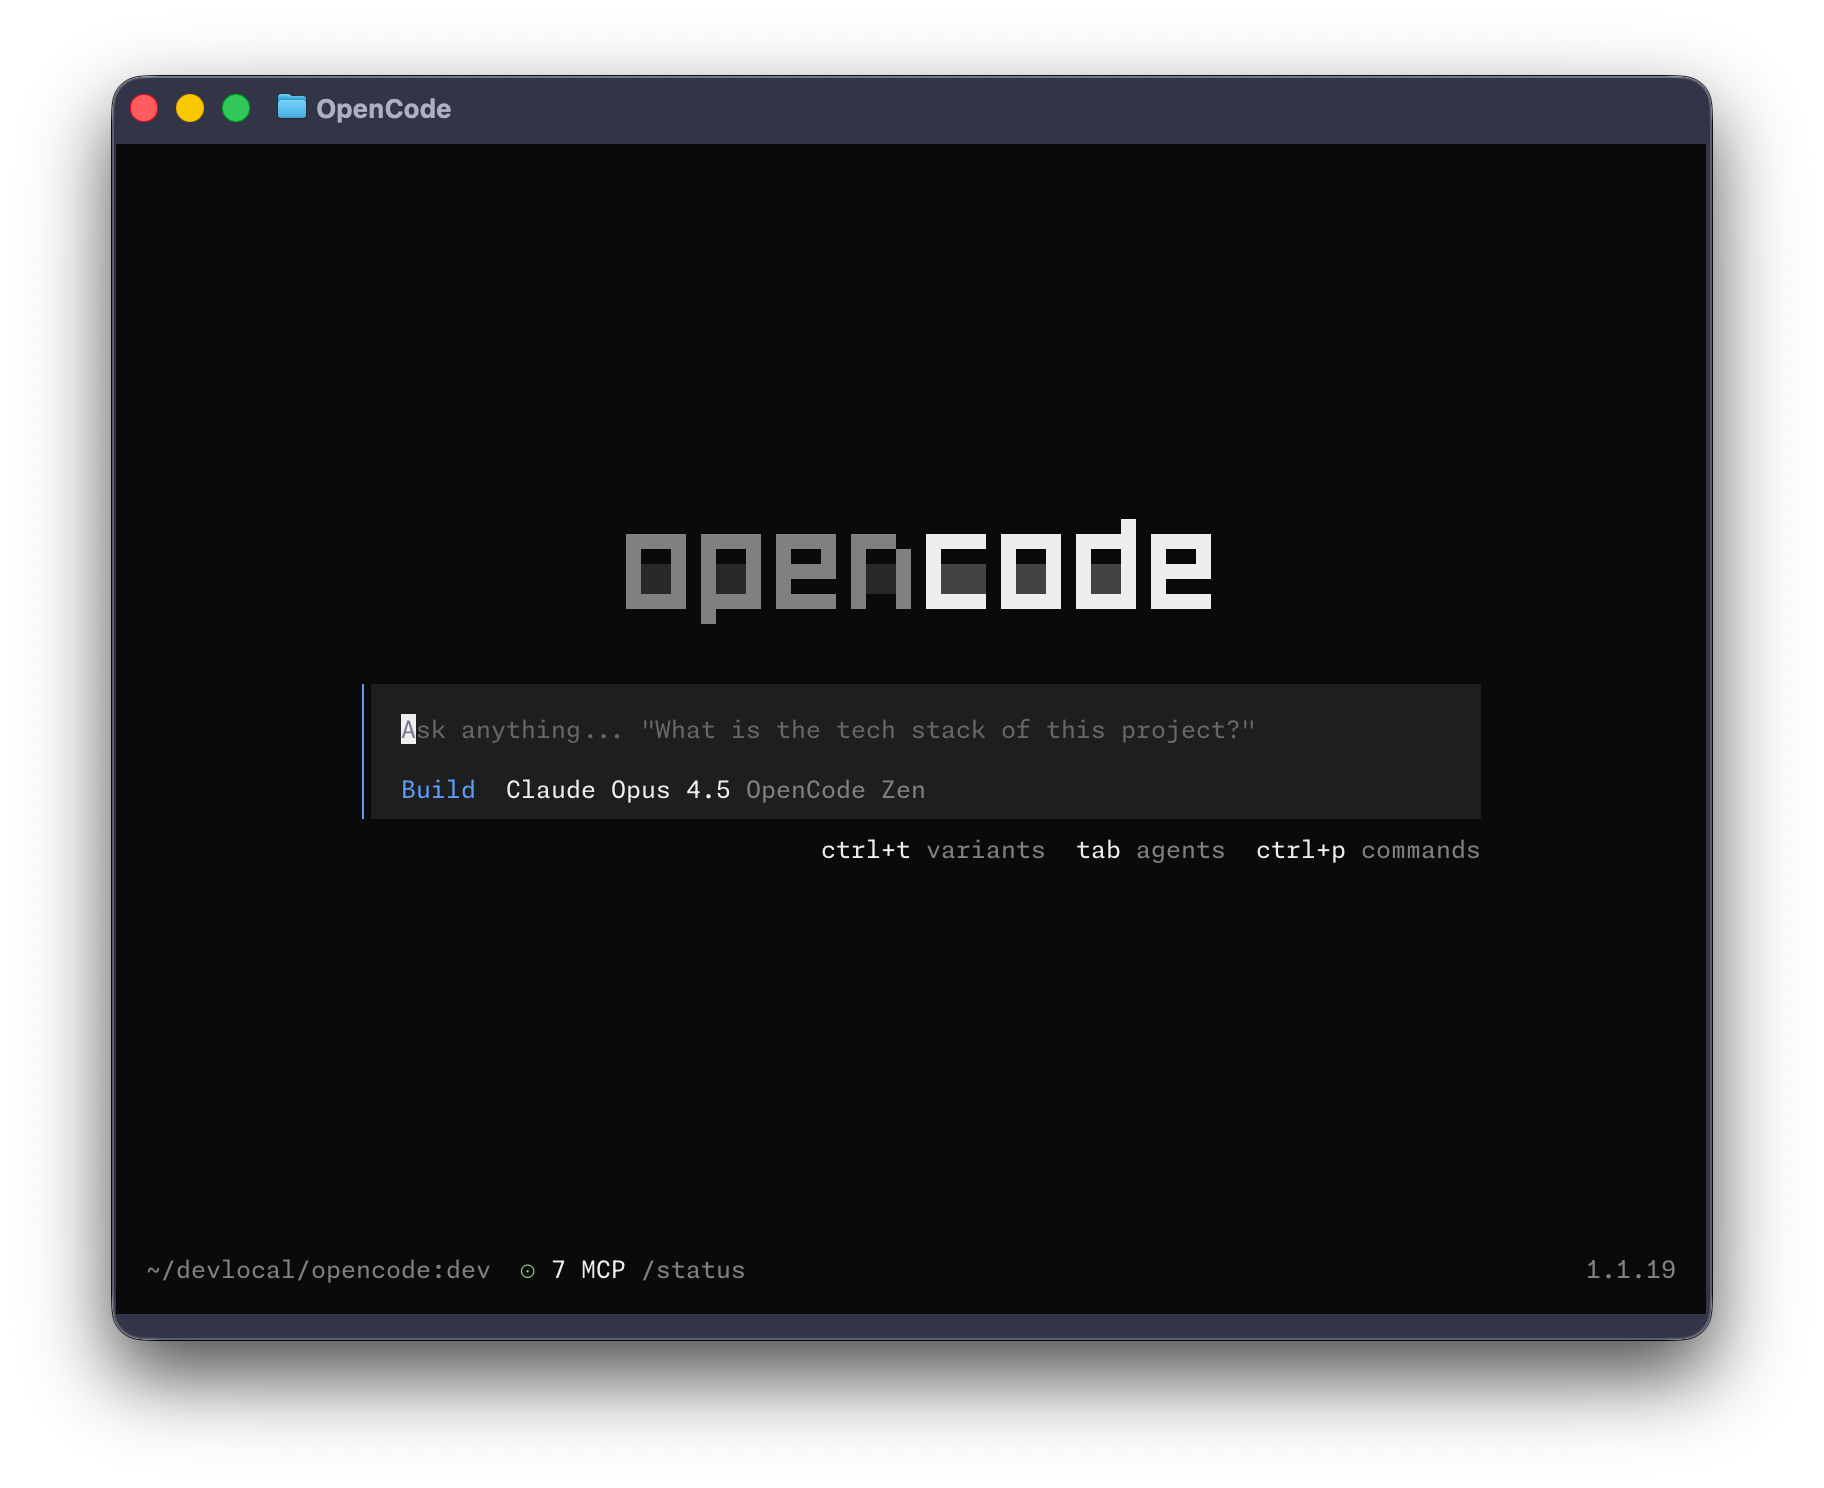
1# Start OpenCode in interactive mode (TUI)
2cd my-project
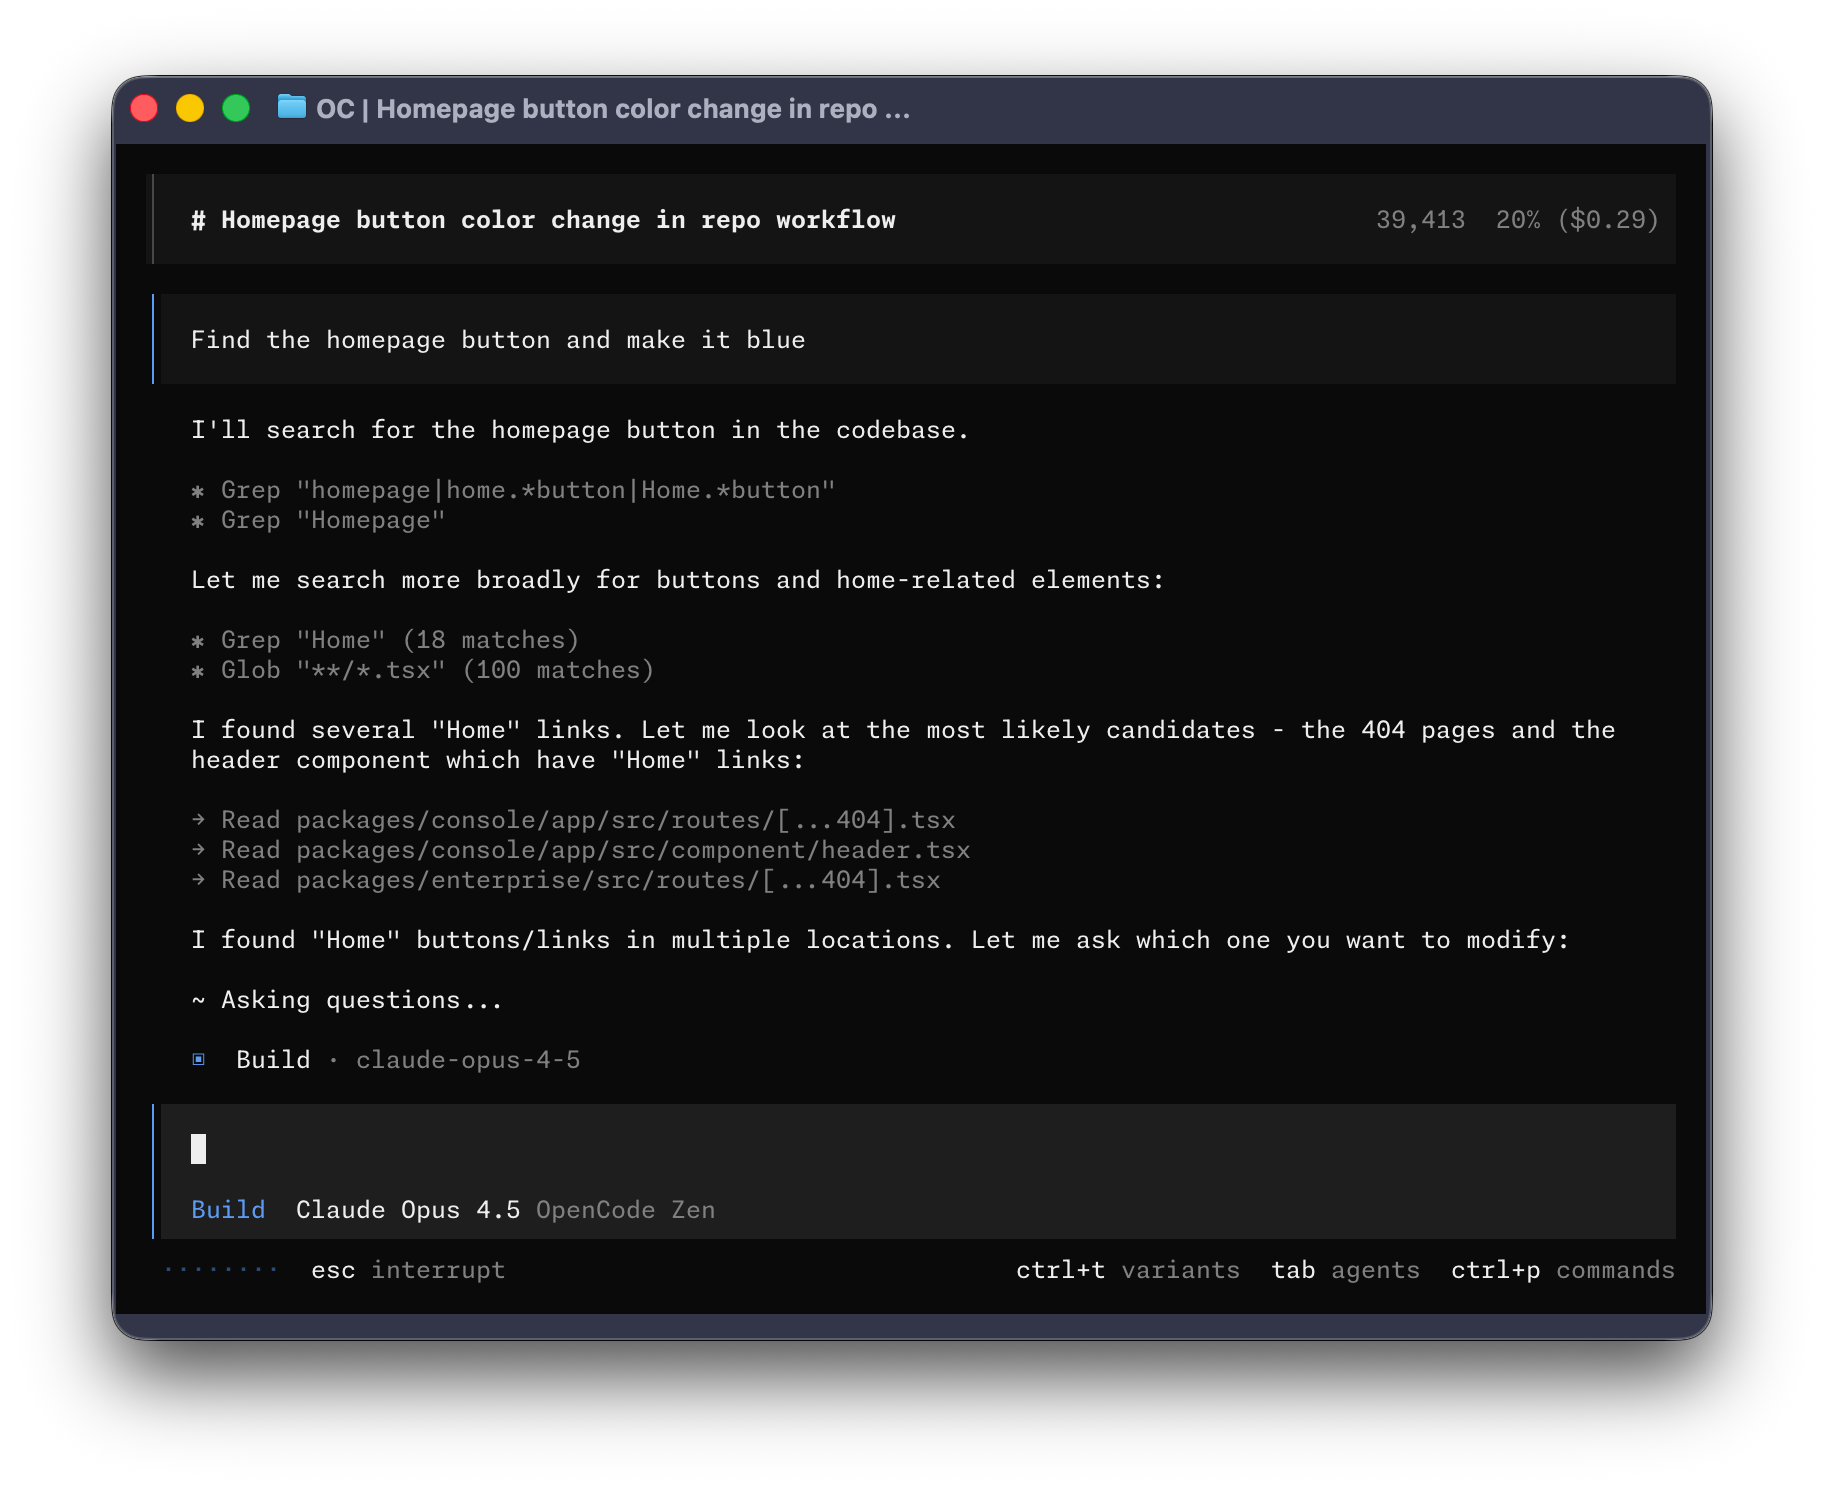
3opencodeYou'll see OpenCode's terminal interface where you can type natural language instructions. But first, initialize your project:
1# Inside the TUI, run:
2/init
The /init command analyzes your project and generates an AGENTS.md file that helps OpenCode understand your codebase structure, conventions, and patterns.
Source: OpenCode — GitHub Repository
Basic Interaction Examples
1# Ask for code explanation
2> Explain how authentication works in this project
3
4# Create a new feature
5> Add a POST /api/users endpoint that validates email and name
6
7# Fix a bug
8> The test in auth.test.ts fails with "undefined is not a function", fix it
9
10# Refactor code
11> Refactor the payment service to use the Strategy pattern
Non-Interactive Mode: Automation and Scripts
OpenCode also works without the TUI, ideal for CI/CD and automation:
1# Run a prompt directly
2opencode run "Explain how the Observer pattern works in this project"
3
4# Use a specific agent
5opencode run --agent plan "Analyze this file and suggest improvements" --file src/auth.ts
6
7# Quiet mode (no spinner, useful for scripts)
8opencode run -q "List all API endpoints"
9
10# Combine with Unix tools
11opencode run -q "Generate a summary of the README" | pbcopy
Server Mode: Avoiding Cold Starts
1# Start the server in the background
2opencode serve
3
4# Connect to the existing server (instant startup)
5opencode run --attach http://localhost:4096 "Explain this error"
Server mode keeps MCP servers loaded, eliminating startup time on each query.
The Two Built-in Agents
OpenCode ships with two default agents that cover the most common workflows:
The build Agent (Default)
This is the primary agent with full access to the file system and terminal. It can:
- Read and write files
- Execute terminal commands
- Install dependencies
- Run tests
- Create commits
The plan Agent
This is a read-only agent that analyzes without modifying. Ideal for:
- Reviewing code before making changes
- Generating implementation plans
- Exploring the codebase without risk
- Analyzing architecture
1# Use the plan agent explicitly
2opencode run --agent plan "Create a plan to migrate from REST to GraphQL"
Essential Commands
Inside the OpenCode TUI, these are the most useful commands:
| Command | Description |
|---|---|
/init | Initialize the project and generate AGENTS.md |
/undo | Revert the last change made |
/redo | Restore a reverted change |
/share | Share the current conversation |
@file | Reference a file with fuzzy search |
Session Management
OpenCode automatically saves your conversations. You can resume them at any time:
1# List all sessions
2opencode session list
3
4# Continue the last session
5opencode session continue
6
7# Fork a session (create a conversation branch)
8opencode session fork
This is especially useful when working on complex features that require multiple iterations over days.
Conclusion
OpenCode democratizes access to AI coding assistants by being open source, multi-provider, and highly extensible. With its simple installation, elegant terminal interface, and support for over 75 model providers, it's a tool every developer should have in their arsenal.
In the following articles, we'll explore how to create custom Skills and Agents to adapt OpenCode to your specific needs, and how to configure MCP servers to integrate external tools like databases, APIs, and cloud services.
curl -fsSL https://opencode.ai/install | bash and initialize your first project with /init. You'll see results in under 5 minutes!
Comments
Sign in to leave a comment
No comments yet. Be the first!
Related Articles
May 3, 2026
GPT-5.5 and Codex in 2026: pros, cons, pricing and performance (no hype)
IA y Machine LearningMay 3, 2026
GPT-5.5 y Codex en 2026: ventajas, desventajas, precios y rendimiento (sin hype)
IA y Machine LearningApril 13, 2026
Why AI Is Making People Lazier in 2026: A Technical, Level-Headed Look
AIStay updated
Get notified when I publish new articles in English. No spam, unsubscribe anytime.