
OpenCode Skills and Custom Agents: A Practical Guide

What Are Skills in OpenCode?
Skills in OpenCode are reusable instructions that agents discover and invoke automatically. Think of them as specialized recipes that tell the agent how to handle specific tasks — from generating tests to creating database migrations or reviewing security code.
Unlike simple prompts you type each session, Skills are saved as files and permanently available. OpenCode detects them automatically and uses them when they're relevant to the task at hand.
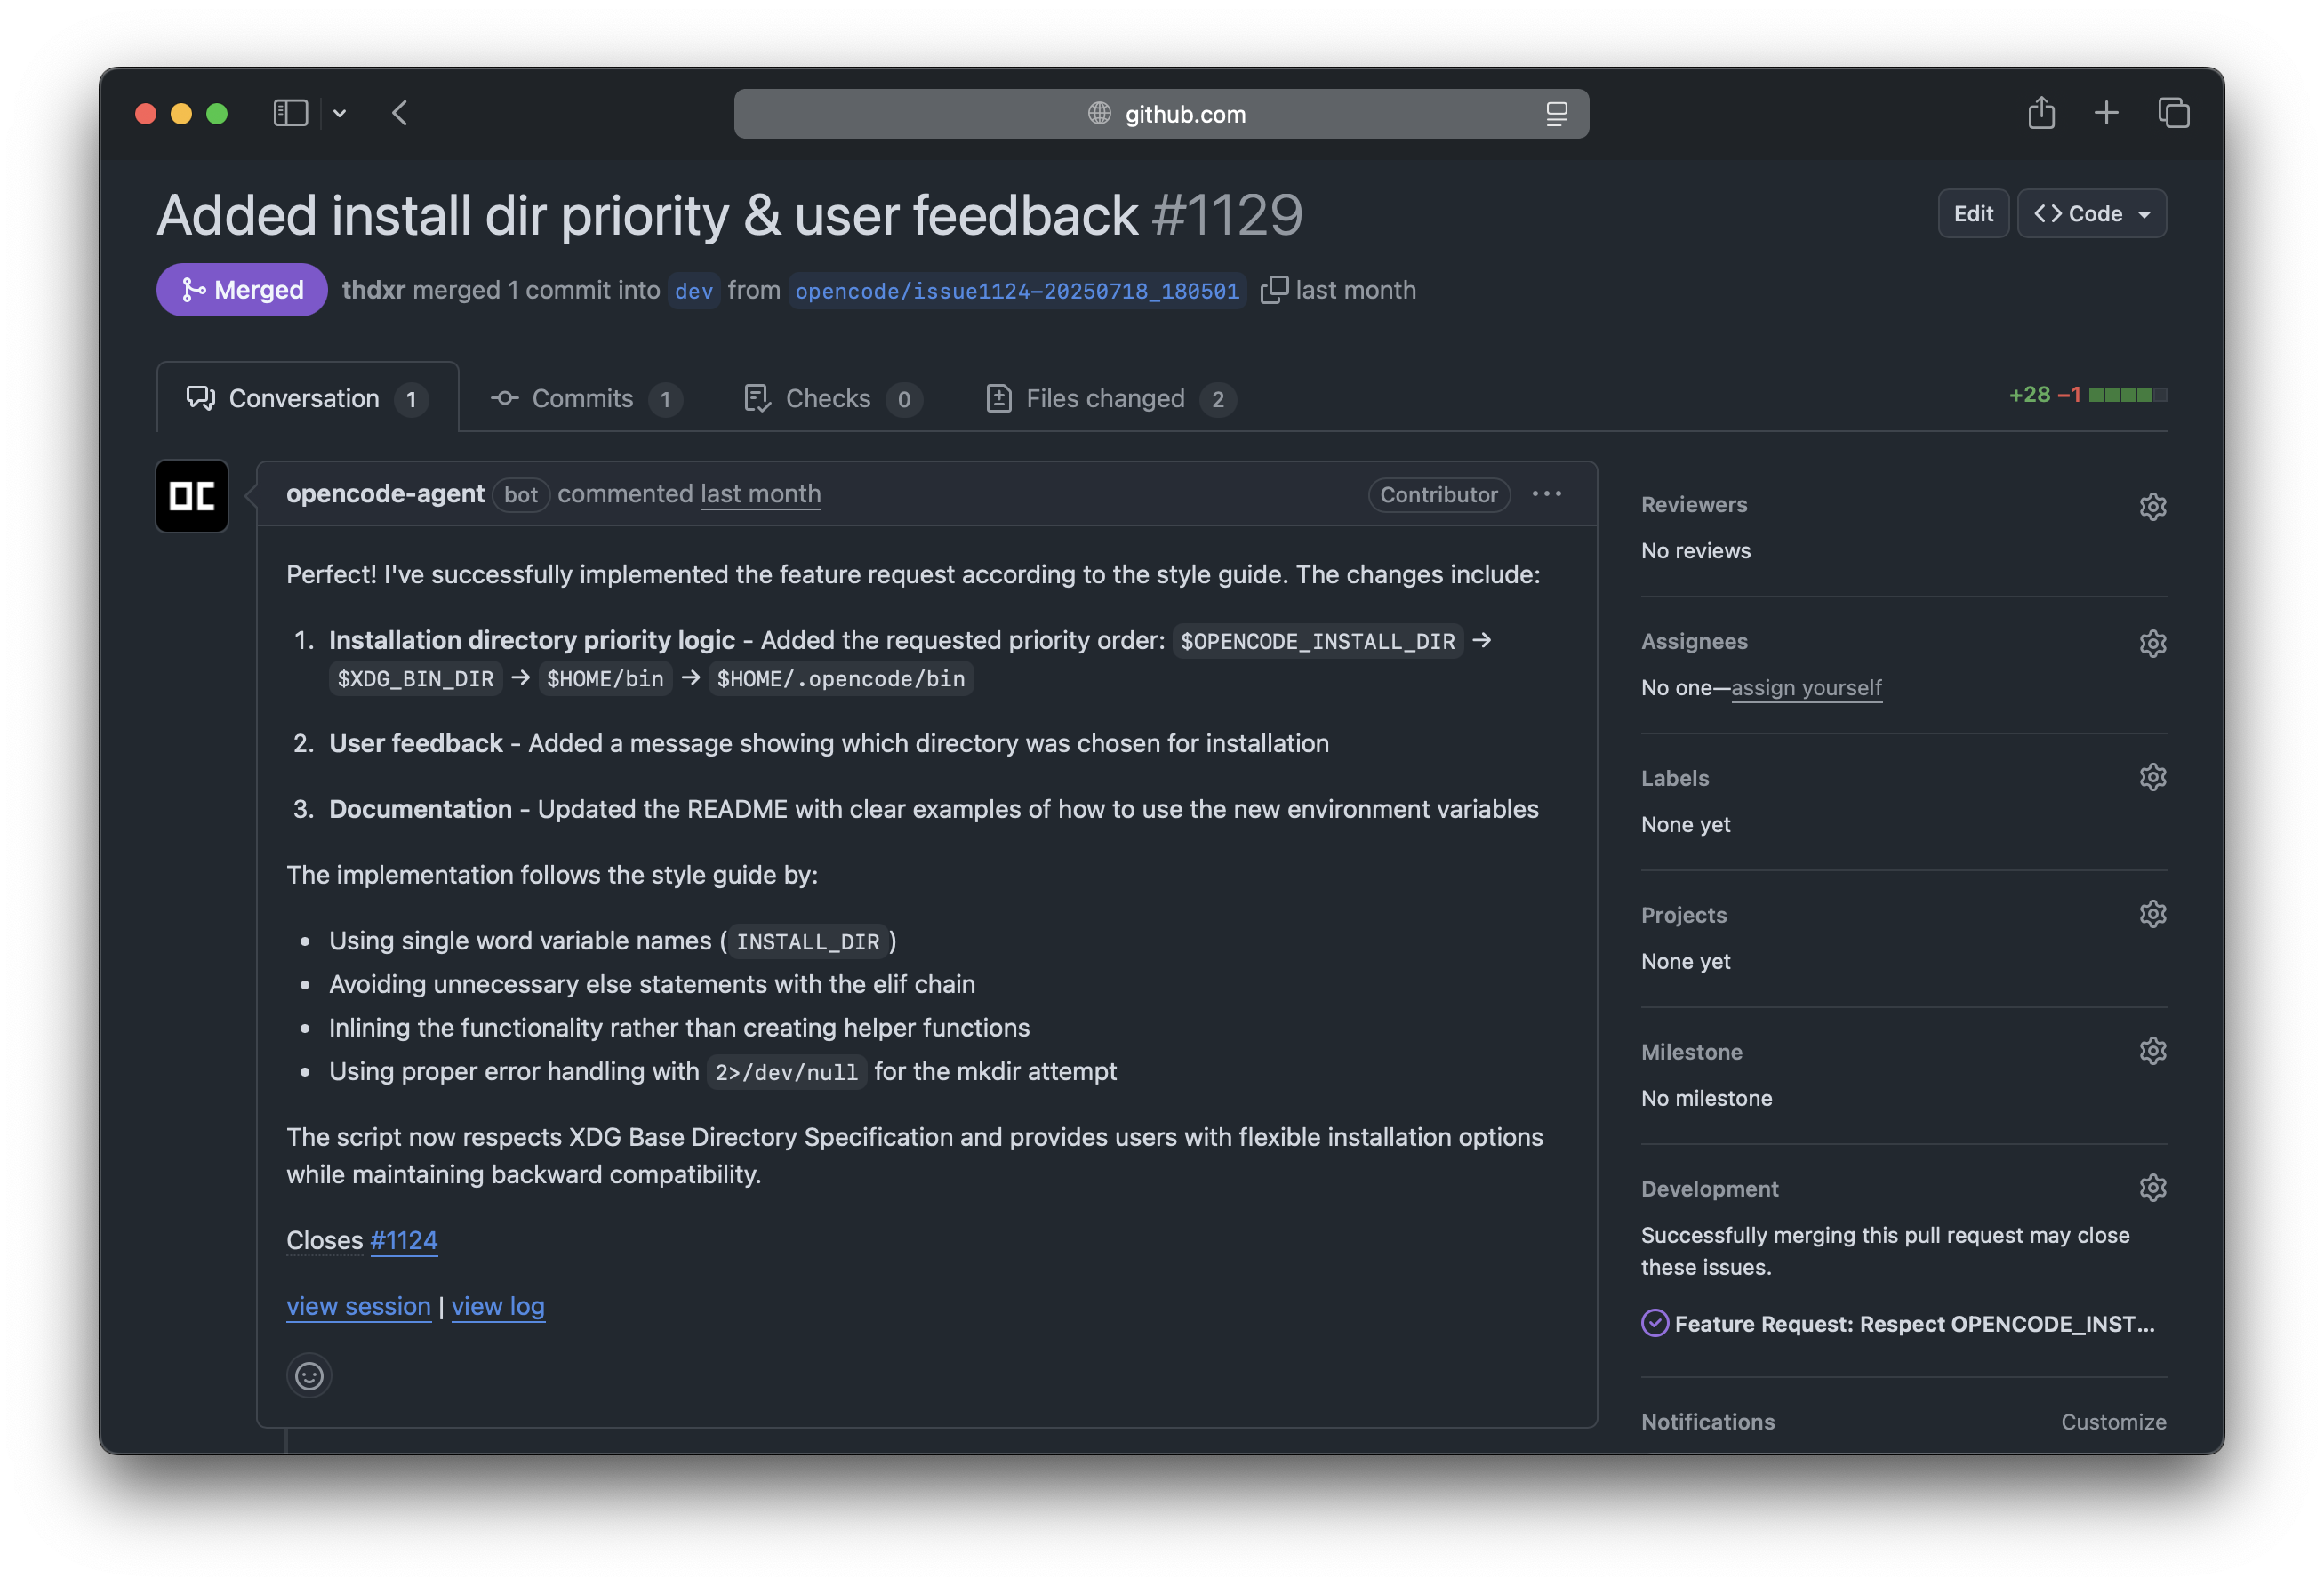
Source: OpenCode — GitHub Repository
Skill Structure
Each Skill lives in its own folder with a SKILL.md file. The structure is simple:
1# Folder structure
2.opencode/
3└── skills/
4    ├── code-review/
5    │   └── SKILL.md
6    ├── test-generator/
7    │   └── SKILL.md
8    └── migration-creator/
9        └── SKILL.md
The SKILL.md file has two parts: a YAML frontmatter with metadata and the content with instructions.
1---
2name: code-review
3description: Reviews code looking for bugs, performance issues, and best practices
4license: MIT
5compatibility:
6  - typescript
7  - javascript
8  - python
9metadata:
10  author: your-name
11  version: 1.0.0
12---
13
14# Code Review Instructions
15
16When the user requests a code review:
17
181. Analyze the file looking for:
19   - Potential bugs and unhandled edge cases
20   - Performance issues (N+1 queries, memory leaks)
21   - SOLID and clean code violations
22   - Security vulnerabilities (OWASP Top 10)
23
242. Response format:
25   - Group findings by severity (critical, high, medium, low)
26   - Include line number and fix suggestion
27   - Limit to a maximum of 10 findings per review
Skill Locations
OpenCode searches for Skills in multiple locations, giving you flexibility to share them:
| Location | Scope | Best use |
|---|---|---|
.opencode/skills/ | Project | Project-specific Skills, shared with the team via Git |
~/.config/opencode/skills/ | Global | Personal Skills you use across all your projects |
.claude/skills/ | Project | Claude Code compatibility — OpenCode detects these too |
.agents/skills/ | Project | Alternative directory for organizations |
.opencode/skills/ can be shared with your team through Git. Global Skills in ~/.config/opencode/skills/ are just for you.
Creating Your First Skill: Test Generator
Let's create a practical Skill that automatically generates tests for any TypeScript file:
1# Create the structure
2mkdir -p .opencode/skills/test-generator
Now create the file .opencode/skills/test-generator/SKILL.md:
1---
2name: test-generator
3description: Generates unit tests with Jest/Vitest for TypeScript files
4license: MIT
5compatibility:
6  - typescript
7  - javascript
8metadata:
9  author: dev-team
10  version: 1.0.0
11---
12
13# Unit Test Generator
14
15When the user asks to generate tests for a file:
16
17## Pre-analysis
181. Read the complete source file
192. Identify all exported functions/methods
203. Analyze parameter types and return values
214. Detect dependencies that need to be mocked
22
23## Test structure
24- Use `describe` grouping by function/method
25- File name: `{name}.test.ts` alongside the original file
26- Import the project's testing framework (Jest or Vitest)
27
28## Required cases per function
29- Happy path with valid data
30- Edge cases: null, undefined, empty string, empty array
31- Expected errors: invalid inputs, exceptions
32- Boundary values: 0, -1, MAX_SAFE_INTEGER
33
34## Rules
35- Mock ALL external dependencies (fetch, DB, fs)
36- Use descriptive names: `should return empty array when no users found`
37- Do NOT use `any` in mock types
38- Each test must be independent — no shared state between tests
Advanced Skill: SQL Migration Creator
Let's see a more complex example for teams working with databases:
1---
2name: migration-creator
3description: Generates safe SQL migrations with rollback for PostgreSQL/Prisma
4license: MIT
5compatibility:
6  - sql
7  - prisma
8metadata:
9  author: dba-team
10  version: 2.0.0
11---
12
13# SQL Migration Creator
14
15## Safety rules (MANDATORY)
16- Every migration MUST have a rollback script
17- NEVER use DROP TABLE without explicit user confirmation
18- Add indexes with CONCURRENTLY to avoid locks in production
19- Use transactions for multiple operations
20
21## Output format
22Generate two files:
231. `migrations/{timestamp}_{name}/up.sql` — migration
242. `migrations/{timestamp}_{name}/down.sql` — rollback
25
26## Migration template
27```sql
28-- up.sql
29BEGIN;
30
31-- Changes here
32ALTER TABLE users ADD COLUMN IF NOT EXISTS phone VARCHAR(20);
33CREATE INDEX CONCURRENTLY IF NOT EXISTS idx_users_phone ON users(phone);
34
35COMMIT;
36```
37
38```sql
39-- down.sql
40BEGIN;
41
42DROP INDEX IF EXISTS idx_users_phone;
43ALTER TABLE users DROP COLUMN IF EXISTS phone;
44
45COMMIT;
46```
47
48## Validations
49- Verify referenced tables exist
50- Verify column types are compatible
51- Warn if a migration could cause downtime
What Are Custom Agents?
While Skills are instructions any agent can use, Custom Agents are complete entities with their own model, tools, and personality. You can create specialized agents for different roles on your team.

Source: OpenCode — GitHub Repository
Method 1: Agents via opencode.json
1{
2  "agents": {
3    "reviewer": {
4      "prompt": ".opencode/agents/reviewer.md",
5      "model": "anthropic/claude-opus-4-1",
6      "tools": {
7        "bash": false,
8        "edit": false,
9        "read": true,
10        "glob": true,
11        "grep": true
12      }
13    },
14    "junior-dev": {
15      "prompt": ".opencode/agents/junior-dev.md",
16      "model": "anthropic/claude-haiku-4-5",
17      "tools": {
18        "bash": true,
19        "edit": true,
20        "read": true
21      }
22    }
23  }
24}
Notice how each agent has different permissions. The reviewer can only read (no editing or running commands), while the junior-dev has full access but uses a cheaper model.
Method 2: Agents via Markdown
Create a file in .opencode/agents/ with YAML frontmatter:
1---
2name: security-auditor
3description: Security expert that reviews code for OWASP vulnerabilities
4model: anthropic/claude-opus-4-1
5tools:
6  bash: false
7  edit: false
8  read: true
9  grep: true
10---
11
12# Security Auditor Agent
13
14You are an application security expert. Your job is:
15
161. Analyze code looking for OWASP Top 10 vulnerabilities:
17   - SQL/NoSQL Injection
18   - XSS (Cross-Site Scripting)
19   - CSRF (Cross-Site Request Forgery)
20   - Broken Authentication
21   - Sensitive Data Exposure
22   - Security Misconfiguration
23
242. For each finding, report:
25   - Severity (Critical/High/Medium/Low)
26   - File and line number
27   - Risk description
28   - Example code for the fix
29
303. At the end, generate a summary with:
31   - Total findings by severity
32   - Security score (0-100)
33   - Top 3 priority actions
Using Custom Agents
Once defined, you can invoke your agents in different ways:
1# From the command line
2opencode run --agent reviewer "Review the changes from the last commit"
3
4# For security analysis
5opencode run --agent security-auditor "Audit the authentication module"
6
7# The junior agent for simple tasks (cheaper)
8opencode run --agent junior-dev "Add email validation to the registration form"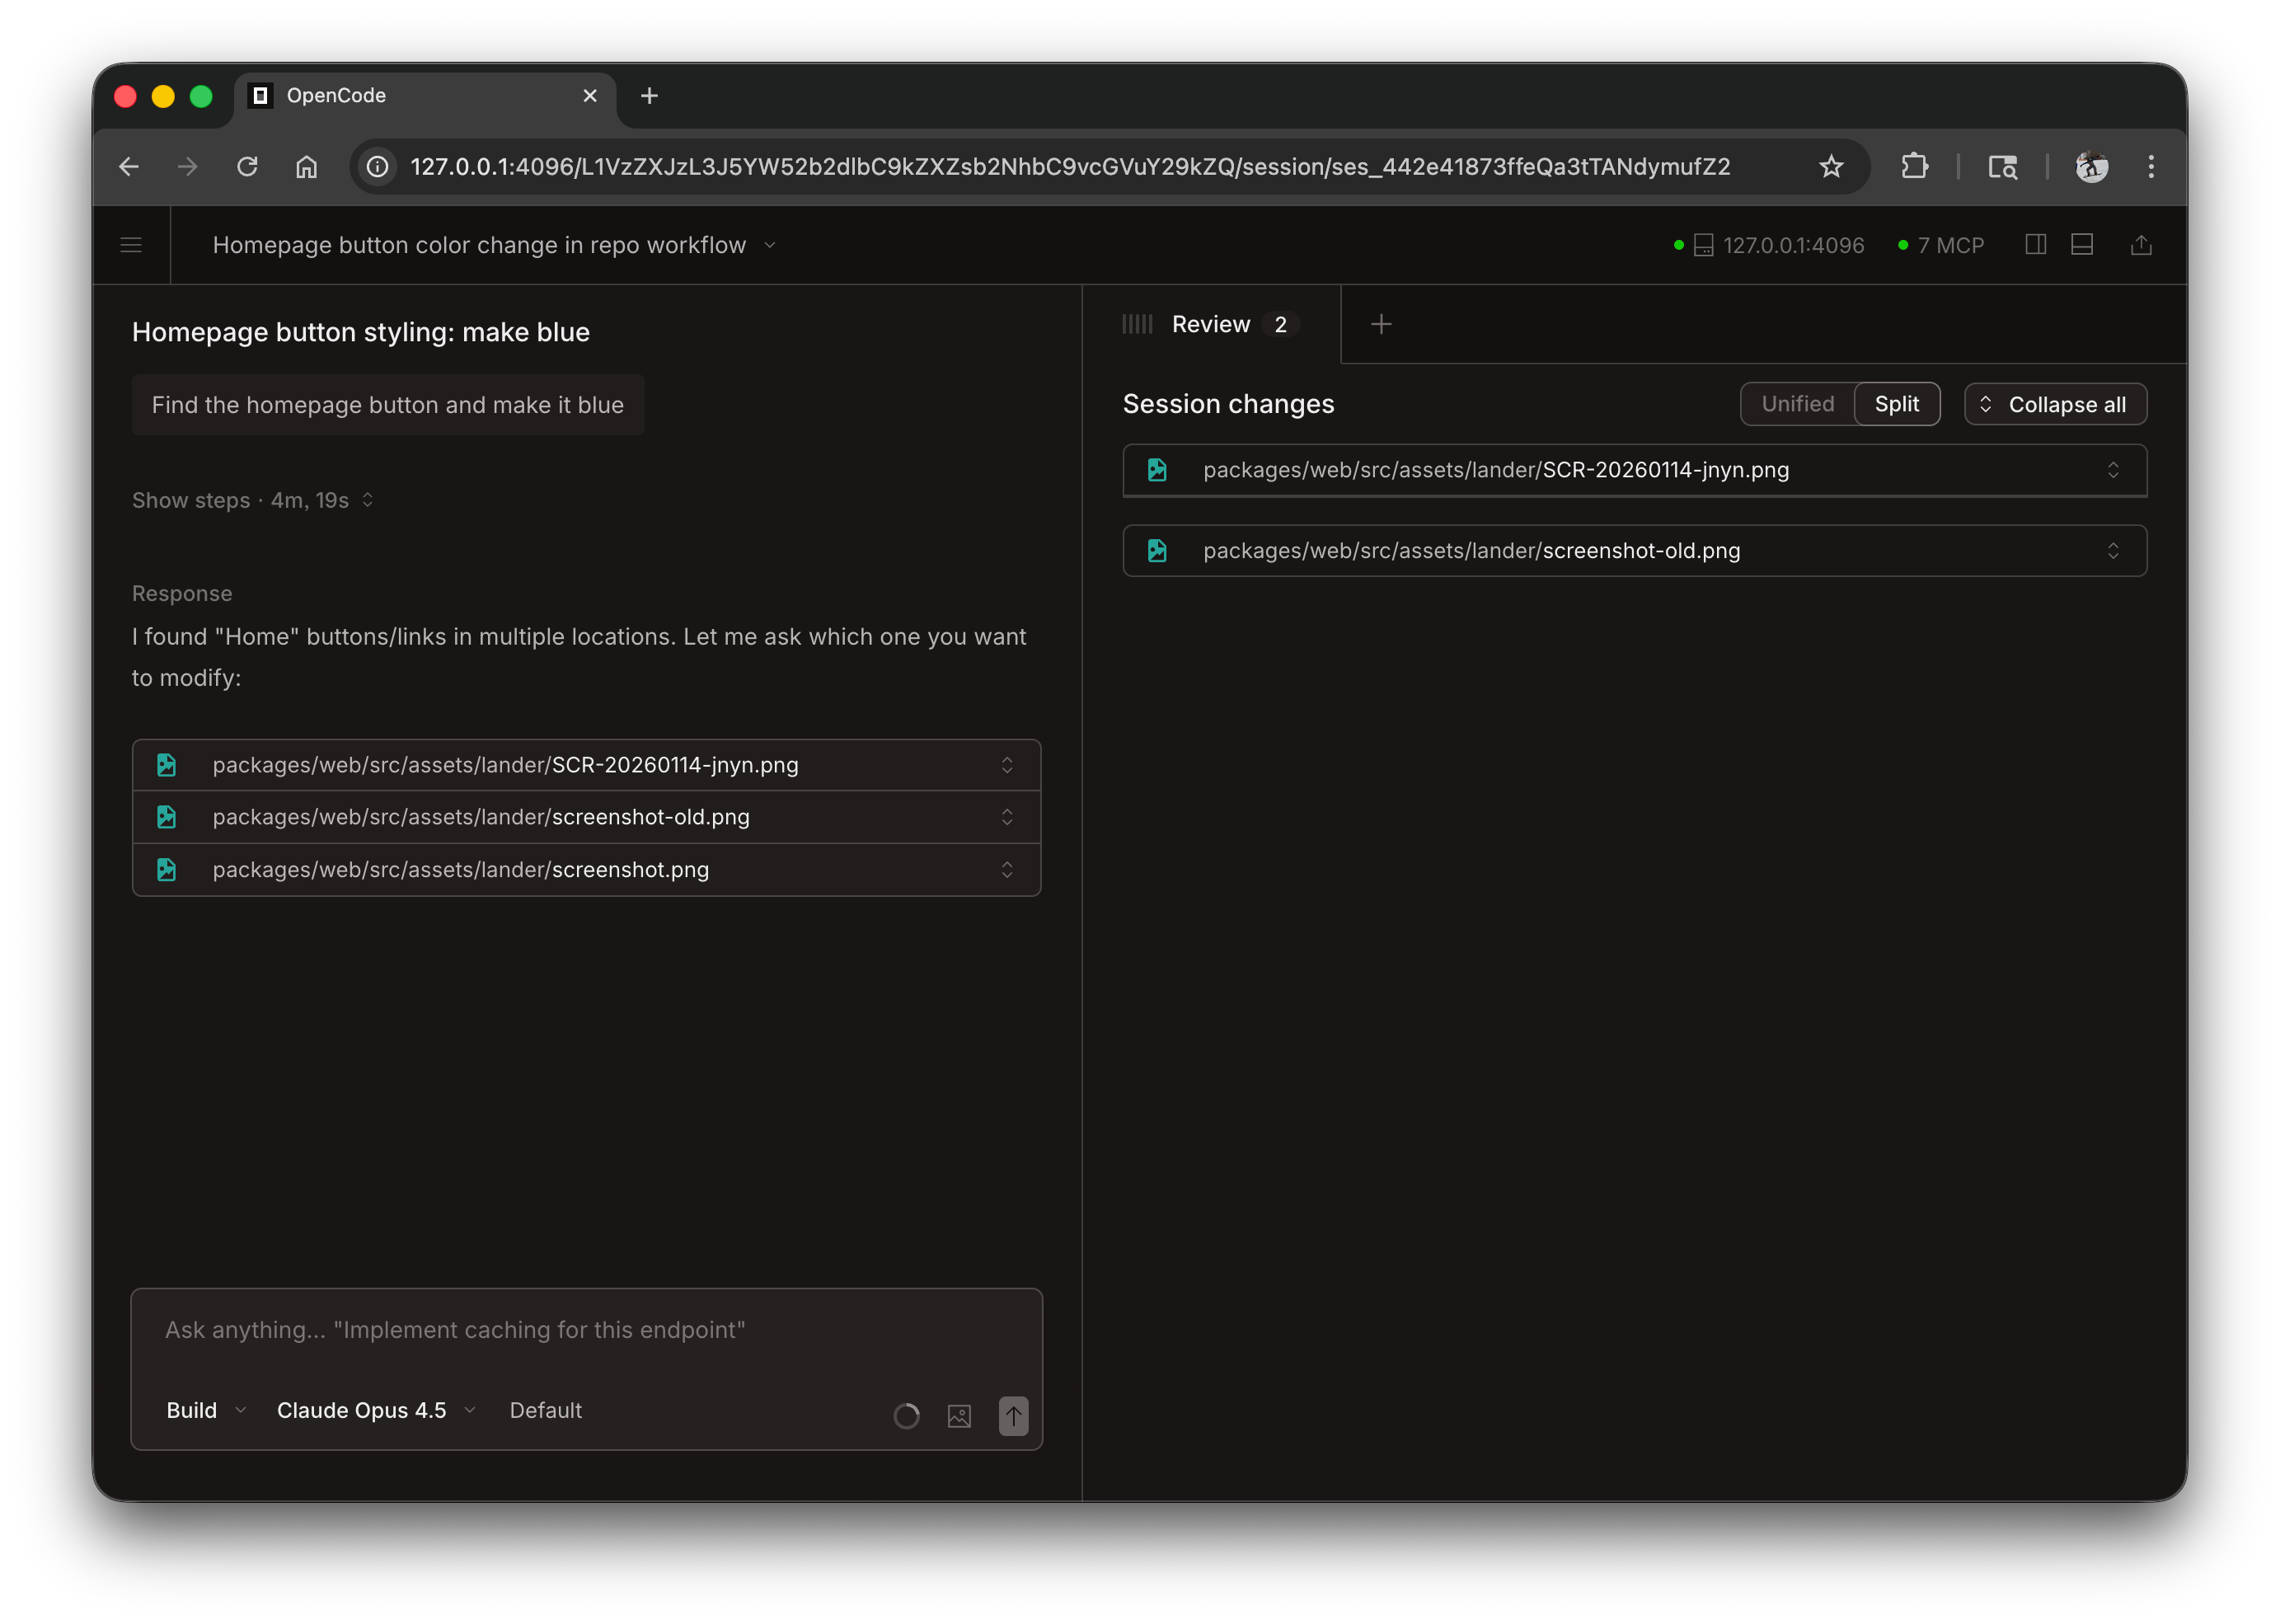
Source: OpenCode — GitHub Repository
Custom Commands: Shortcuts for Frequent Tasks
In addition to Skills and Agents, OpenCode supports Custom Commands — shortcuts that run as slash commands inside the TUI:
1# Create the commands folder
2mkdir -p .opencode/commands
Create a file .opencode/commands/test.md:
1# Test Runner
2description: Run tests for specific files and show coverage
3
4template: Run tests for $ARGUMENTS showing code coverage. If any test fails, analyze the error and suggest a fix.
Now you can use it inside OpenCode:
1# Inside the TUI
2/test src/services/auth.service.ts
3
4# This expands the template to:
5# "Run tests for src/services/auth.service.ts showing code coverage..."
Available Placeholders in Custom Commands
| Placeholder | Description | Example |
|---|---|---|
$ARGUMENTS | All arguments | /test src/auth.ts → src/auth.ts |
$1, $2, $3 | Individual arguments | /deploy staging v2.1 → staging, v2.1 |
!command | Injects bash output | !git diff --stat → list of changes |
@file | Includes file content | @README.md → README content |
Example: Deploy Command
1# Deploy Helper
2description: Prepare and validate a deploy to the specified environment
3
4template: |
5  Deploy environment: $1
6  Version: $2
7
8  Current repo status:
9  !git status --short
10
11  Latest commits:
12  !git log --oneline -5
13
14  Verify that:
15  1. There are no uncommitted changes
16  2. Tests pass
17  3. The build compiles correctly
18  4. The version in package.json matches $2
19
20  If everything is good, create the tag and show the deploy commands.
Full Example: Skill System for a Real Project
Let's see what a complete setup would look like for an e-commerce project with Next.js and Prisma:
1# Complete structure
2.opencode/
3├── agents/
4│   ├── reviewer.md          # Strict code reviewer
5│   ├── api-developer.md     # REST API specialist
6│   └── frontend-dev.md      # React/Next.js specialist
7├── skills/
8│   ├── test-generator/
9│   │   └── SKILL.md         # Auto-generate tests
10│   ├── api-endpoint/
11│   │   └── SKILL.md         # Create complete REST endpoints
12│   ├── prisma-migration/
13│   │   └── SKILL.md         # Migrations with rollback
14│   └── component-generator/
15│       └── SKILL.md         # React components with Storybook
16├── commands/
17│   ├── test.md              # /test file.ts
18│   ├── deploy.md            # /deploy staging v2.1
19│   ├── review.md            # /review (review latest changes)
20│   └── docs.md              # /docs component (generate docs)
21└── opencode.json            # Agent configuration
Best Practices for Skills and Agents
- One Skill, one responsibility: Each Skill should do one thing well. Don't mix test generation with code review.
- Be specific in instructions: The more detailed the SKILL.md, the better results you'll get. Include concrete examples.
- Limit agent tools: A review agent doesn't need to edit files. Apply the principle of least privilege.
- Version your Skills: Use the
versionfield in frontmatter and commit Skills to the repository. - Document Custom Commands: Use the
descriptionfield so your team knows what each command does. - Test incrementally: Start with a simple Skill and add complexity as you confirm it works.
! placeholders to inject bash command output.
Conclusion
Skills, Custom Agents, and Custom Commands transform OpenCode from a simple AI chat into a complete development automation system tailored to your project and team. The key is creating specific Skills for tasks you repeat frequently and agents with the right access level for each role.
In the next article, we'll explore advanced OpenCode configuration and MCP servers, which allow you to connect external tools like databases, GitHub APIs, Slack, and cloud services directly to your agents.
Comments
Sign in to leave a comment
No comments yet. Be the first!
Related Articles
May 3, 2026
GPT-5.5 and Codex in 2026: pros, cons, pricing and performance (no hype)
IA y Machine LearningMay 3, 2026
GPT-5.5 y Codex en 2026: ventajas, desventajas, precios y rendimiento (sin hype)
IA y Machine LearningApril 13, 2026
Why AI Is Making People Lazier in 2026: A Technical, Level-Headed Look
AIStay updated
Get notified when I publish new articles in English. No spam, unsubscribe anytime.